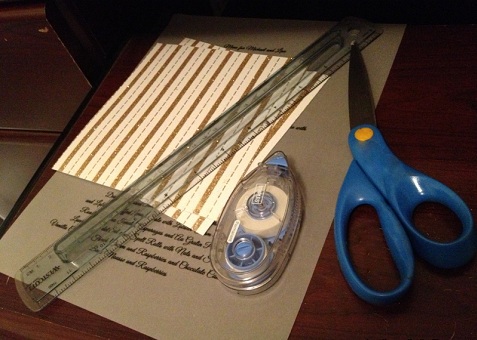
WHAT YOU NEED:
Scissors
Cardstock
Vellum
Ruler
Double sided adhesive tape roller
Printer (any home printer will work)
Step One:
Stop at your local craft/paper store (or online) to pick your favorite cardstock. I chose this amazing glittery, gold pinstripe cardstock.
(This one is 12″ x 12 “)
Step Two:
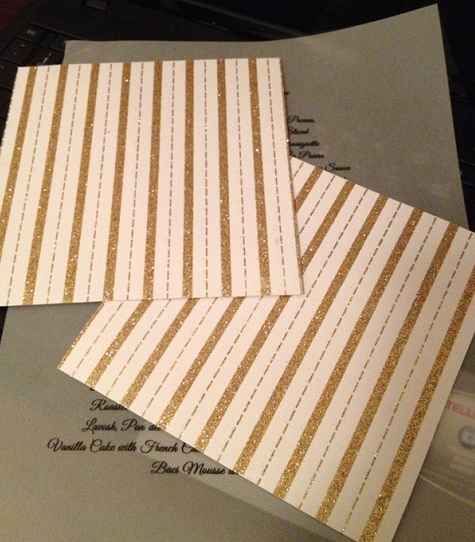
Cut to the size you want.
Tanya cut hers into four 6″ x 6″ squares.
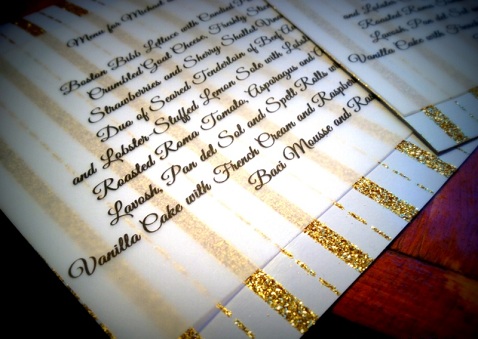
Step Three:
Print your menu on vellum paper. Vellum is a transparent paper that you can print on. You can get this at your local office supply store. Use your favorite font and make sure you keep the text within the measurements of the size of your cardstocks. You should keep the text centered, and leave enough room on the edges, and top and bottom for a more appealing look. Tip: you can download free fonts from www.fontsquirrel.com
Step Four:
Cut your printed menu to the size you need.
Step Five:
Using the adhesive tape (found at local office supply store) around the edges of the vellum, center and secure the vellum to the cardstock however you’d like.


.jpg")