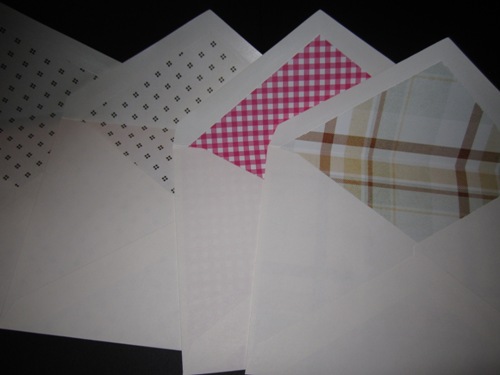
Stationary supplies can be expensive. To invite your loved ones to your wedding with exactly the style you love, consider a DIY approach to your invitations. There are a lot of options for printing the invites, but what about having the perfect envelope liners? This DIY project, inspired by a project I saw on Ruffled, will allow you to have the perfect envelope liners to match your invitations.
SUPPLIES
- Paper for the liners: I used patterned craft paper, but I’ve seen tutorials using awesome vintage wallpaper or other decorative paper
- Scrap paper to make a template
- Envelopes
- Ruler
- Bone folder
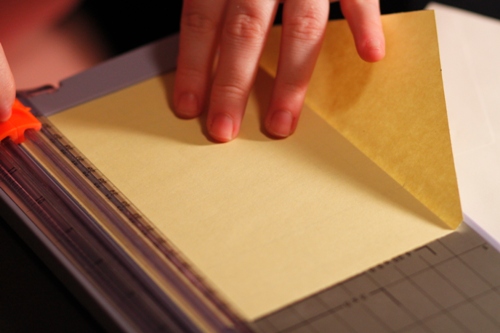
- Paper cutter
- Glue stick
DIRECTIONS
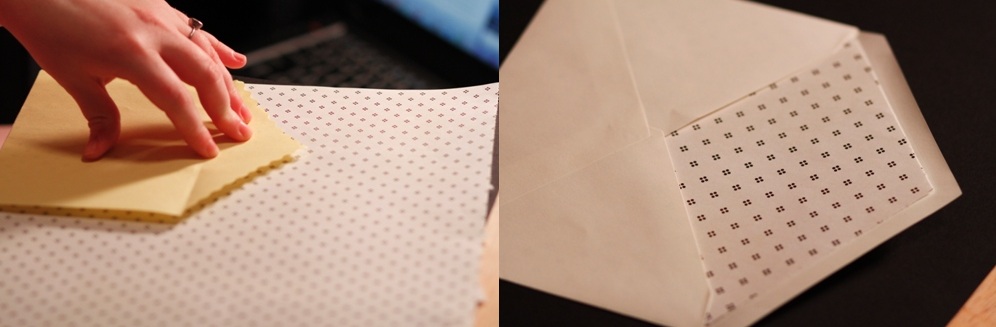
- With the scrap paper, you can make a template which will make cutting the rest of the liners easier. The liners should be the shape of the envelopes but an 1/8 or a 1/4 of an inch indented from the sides.
Work with my template until it is the size that you want. For instance, if the folded part of the liner is too close to the edges of the top of the envelope, you can cut the bottom to bring the whole liner lower. Also, make sure that the sides of the envelope are cut to the same length from the bottom. It’ll look cleaner and it won’t bend the envelope when you go to fold it.
- Then cut the decorated paper out using the template, and then put it into the envelope to fold.
- To fold, of course you can use your fingers, but it’s also beneficial to use a bone folder or something so that the fold is more crisp.
- To help it stay in place, glue the back of the liner as it’s folded down onto the envelope and then secure it into place to the top of the envelope.
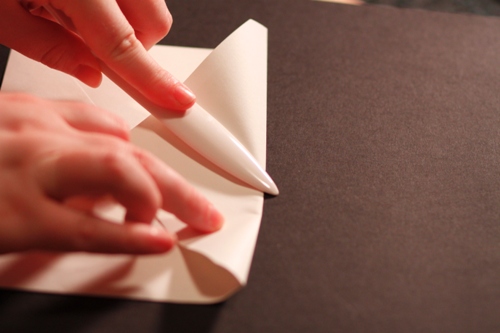
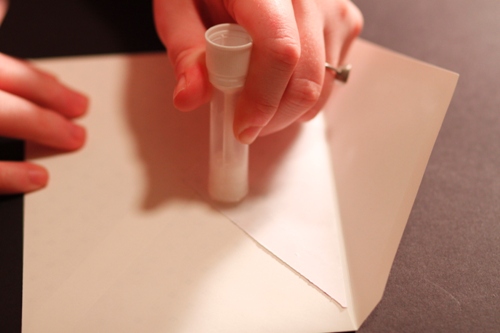
By not gluing the bottom half of the envelope, there’s less margin for error and the liner will move with the envelope as you open and close it. Enjoy!
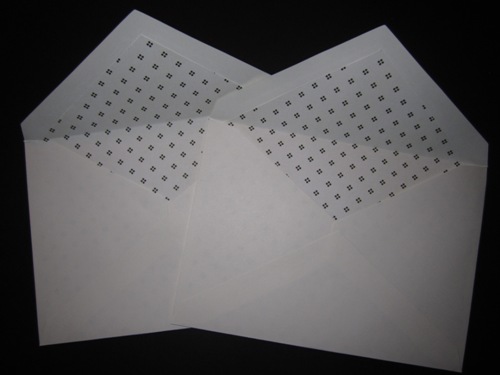
Photo: Lina Blair